Limba romana / english
Am observat ca bordul, mai exact ceasurile din bord erau destul de murdare. Geamul despartitor parea aburit si/sau murdar.
Asa ca mai departe veti vedea pasii necesari pentru demontare si curatire! Pentru poze mai mari, clic dreapta, deschide imagine in nou tab
I noticed the dashboard indicators were foggy/cloudy/blurry. So I had to remove and clean them. Follows a DIY. For larger photos, right click them, open image in new tab
Urmariti pasii din instructiunile atasate pentru demontarea bordului. Nu uitat sa decuplati mai intai bateria de 12V! Se vor pierde statisticile despre consum!
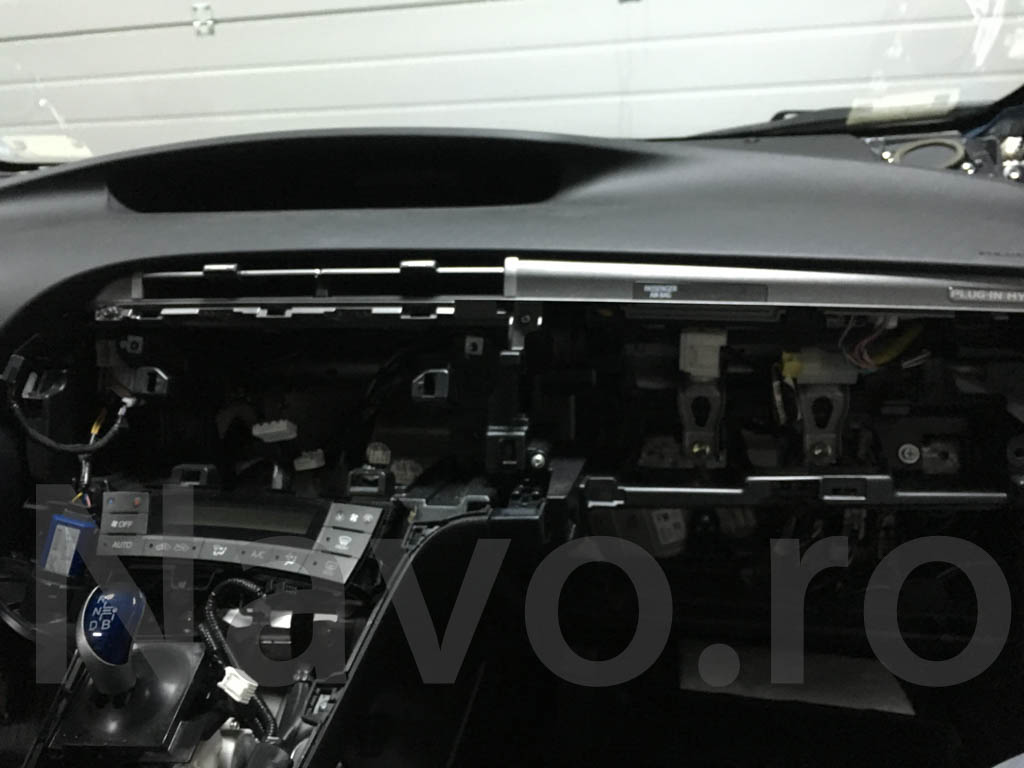
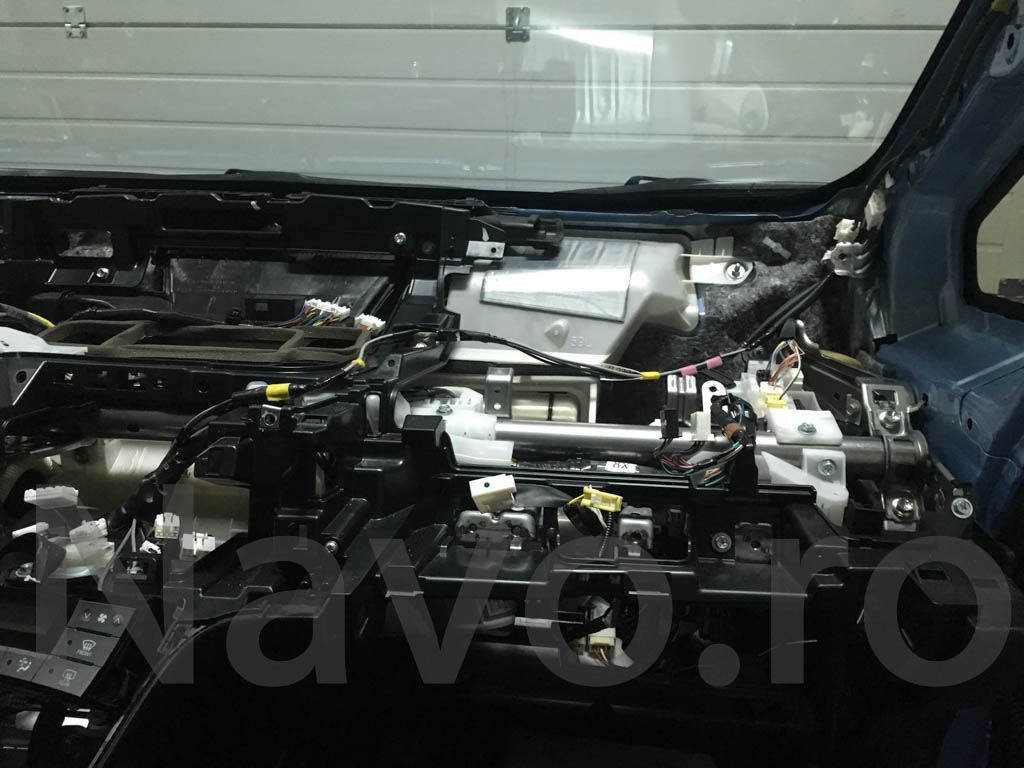
Pe scurt: se demonteaza pe rand: ornamentul din prag, ornamentul de sub stalpul sofer, plasticul cu butoane oglinzi/reglaj faruri, gura de aerisire, ornamentul di jurul schimbatorului de viteze, consola centrala, ornamentul de deasupra volanului, ornamentul din jurul radio-ului, radio-ul, gura de aerisire mica din dreapta, gura mare, placile laterale stanga/dreapta bordului, torpedoul, ornamentele stalpi stanga/dreapta, ornamentul aerisire geamuri mici laterale langa stalpi, capacele difuzoarelor, si....in sfarsit plansa de bord
Sunt putine suruburi: 4 care tin radio-ul, 2 pt airbag pasager, 2 pt bord, 1 pentru stanga jos langa picior, in colt. In rest numai cleme!
Dificil este sa scoti ornamentele stalpilor: trebuie tras in lateral usor, apoi ori rotit plasticul de la mijloc, ori poate iese si fara rotire. Apoi inclinati la 45 grade si trageti puternic si iese si de jos.
Follow the instructions from this pdf file to remove the dashboard. Remember to first disconnect the 12V battery! (you WILL loose all stats)
Basically, you have to remove all the palstic covers starting from the lower left A pillar, and center console going up, and finally the dashboard itself.
There are just a few screws: 4 holding the radio, 2 for the passanger airbag, 2 for the dashboard, and 1 left bottom, near the a-pillar
The trick to remove the a-pillar cover is: pry it about 4-5cm from the top (remove the top holder), then rotate 90 degrees the 2nd holder (sometimes it just pops off too), then angle the cover about 45 degrees and pull hard from the bottom, there are just clips holding it and it will come out
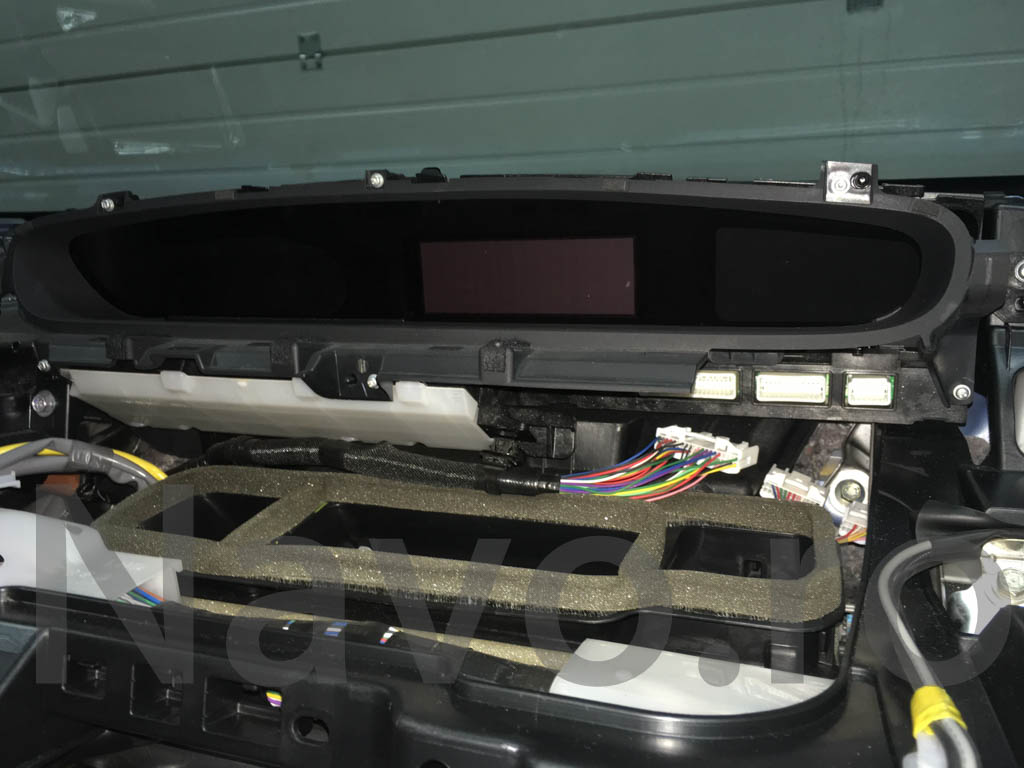
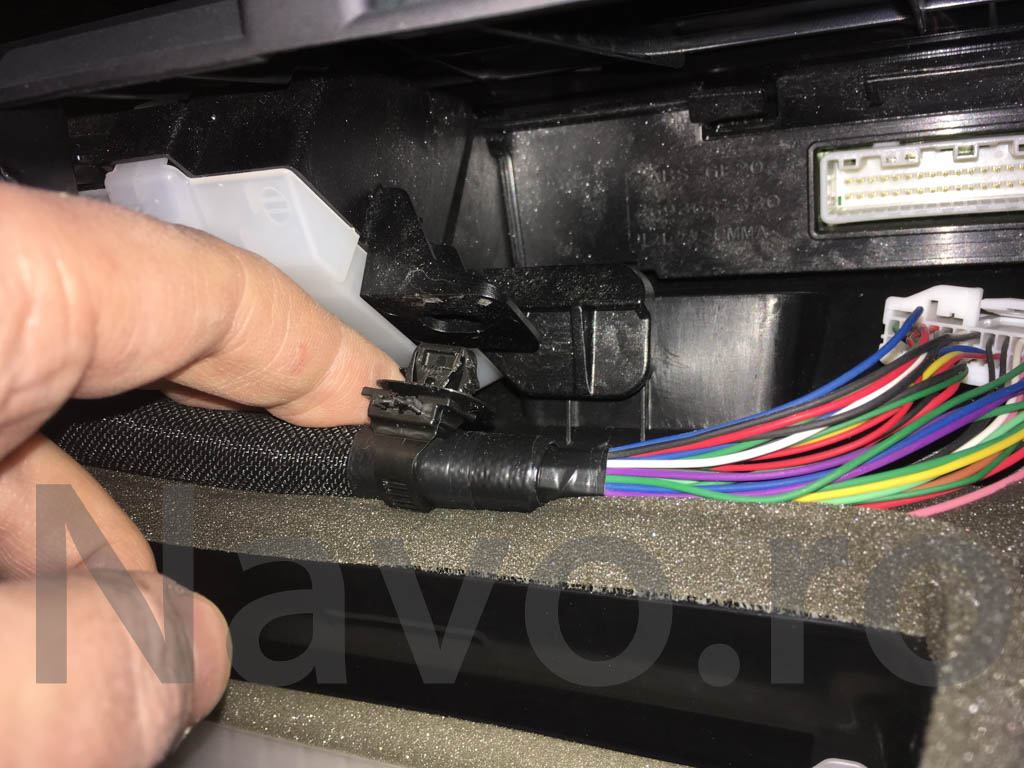
Ceasurile sunt prinse cu 3 suruburi, dar mai intai trebuie decuplate cablurile. Sunt prinse cu un colier destul de dificil de decuplat. Ori trageti tare si apoi il aranjati cumva sa mai aiba forma initiala, ori prin spate strangeti cu un patent subtire picioarele colierului si il extrageti intact. Este dificil ca nu vezi in spate. Dupa ce il scoti odata stii ce trebuie sa faci. Aveti mai jos o poza mai detaliata sa vedeti cum arata.
The indicators are held with 3 screws. But the difficult part is to remove the wire plastic clip holding them onto the indicators. You either pull hard and reshape the clip later, or squeeze the clip from behind and pull it out. You can't see what you are doing, but I made some photos to see how the clip actually looks like.

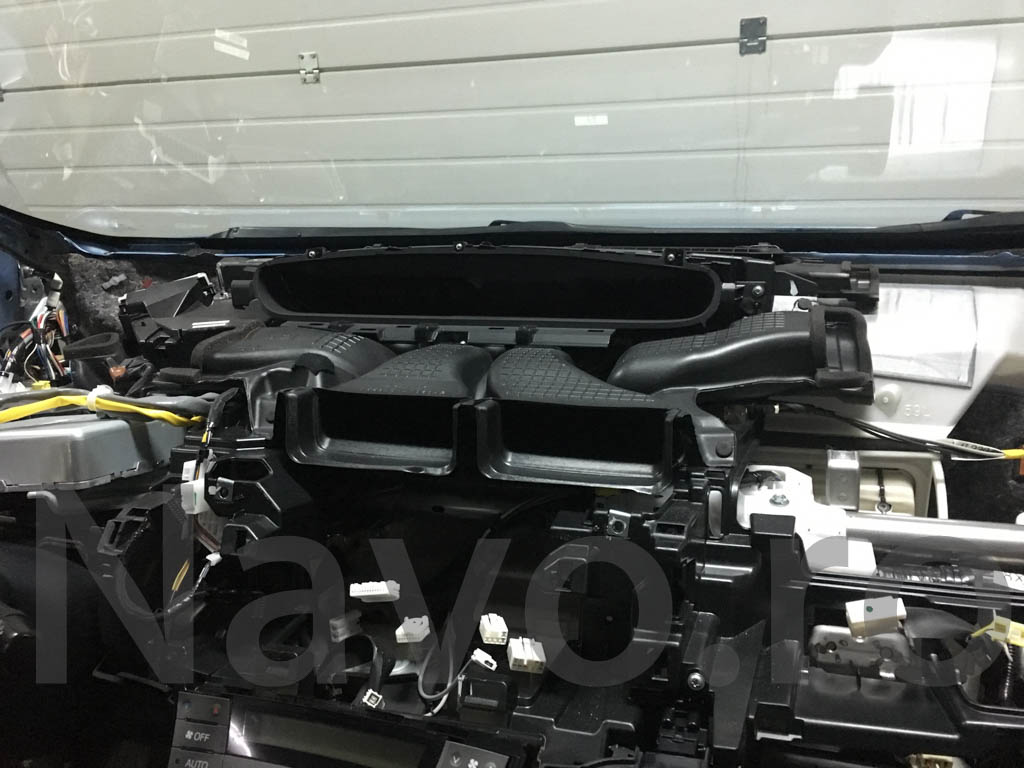
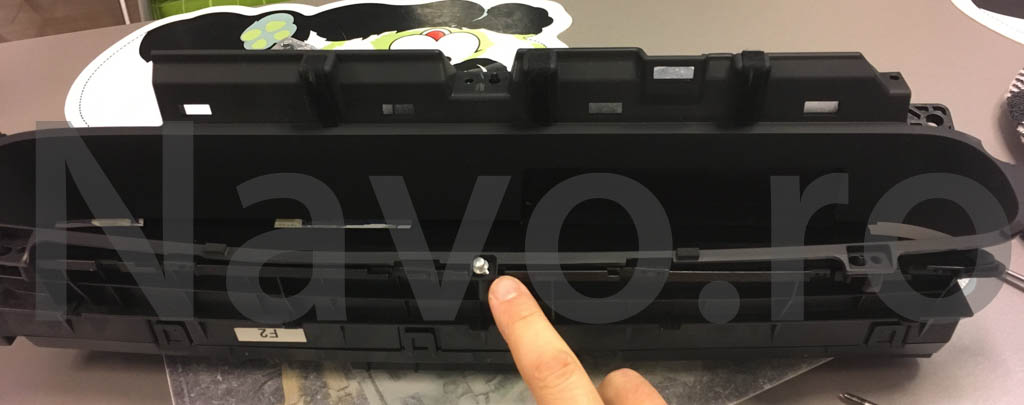
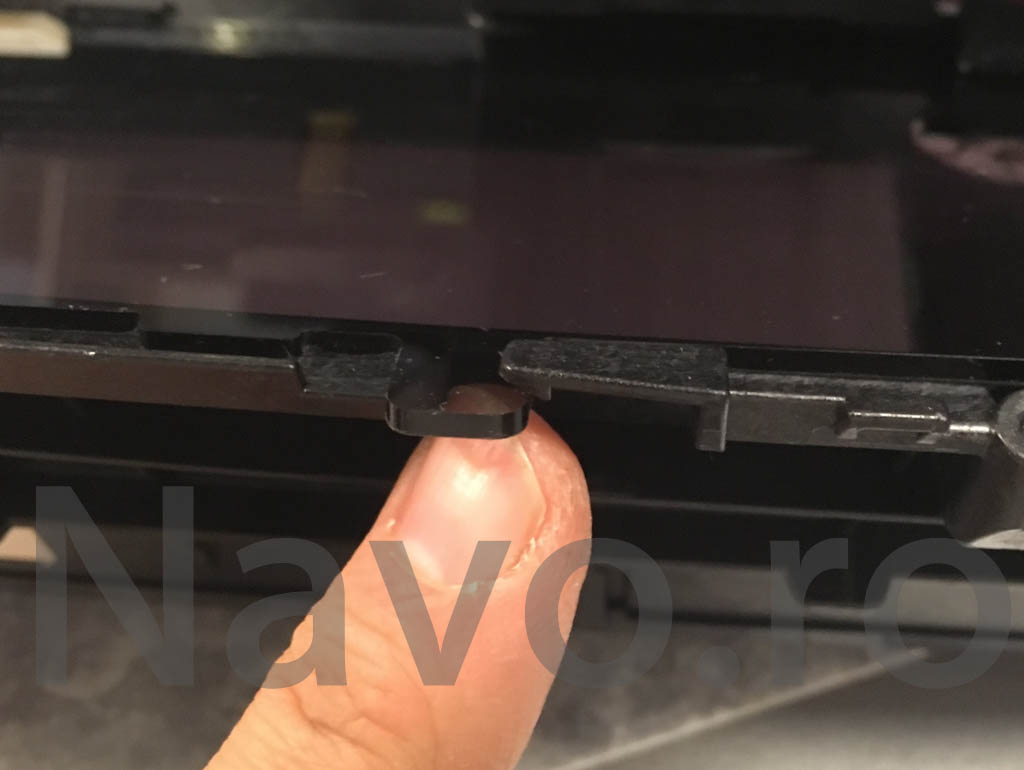
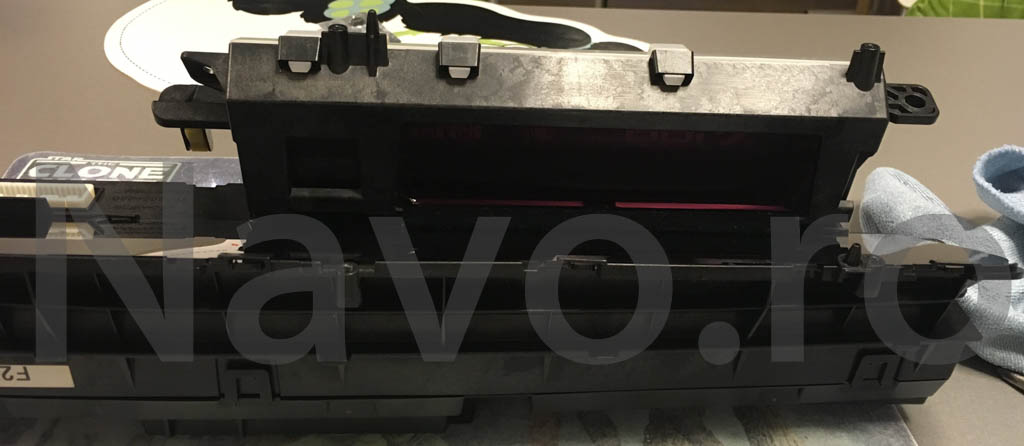
Unul dintre ecrane este accesibil din spate, trebuie desfacute suruburile si scos capacul.
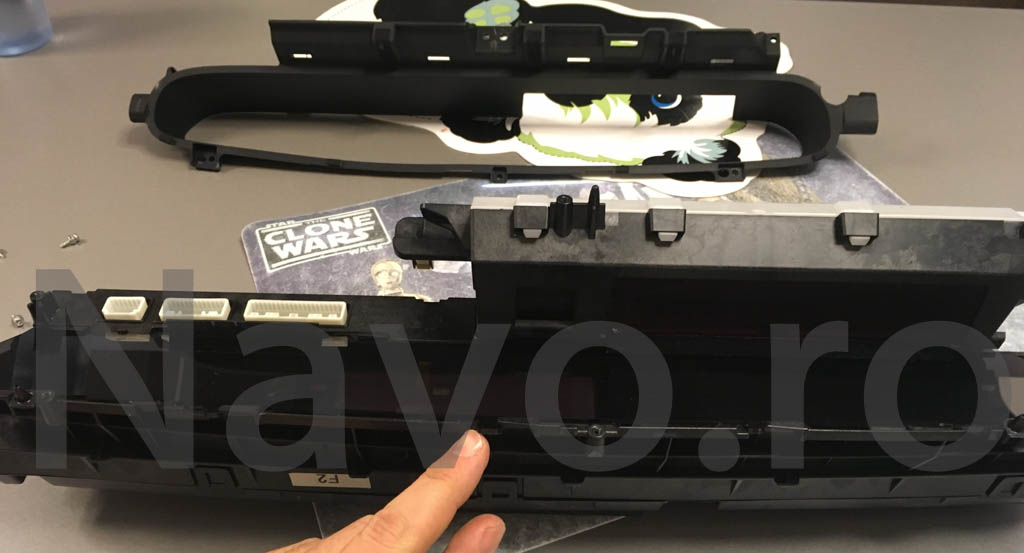
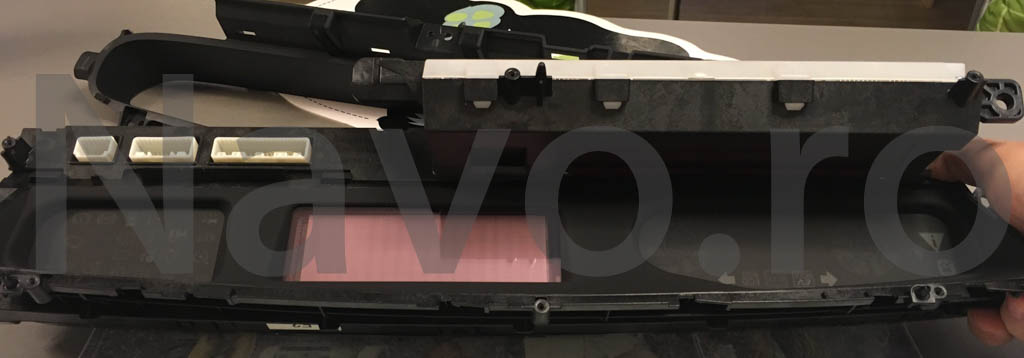
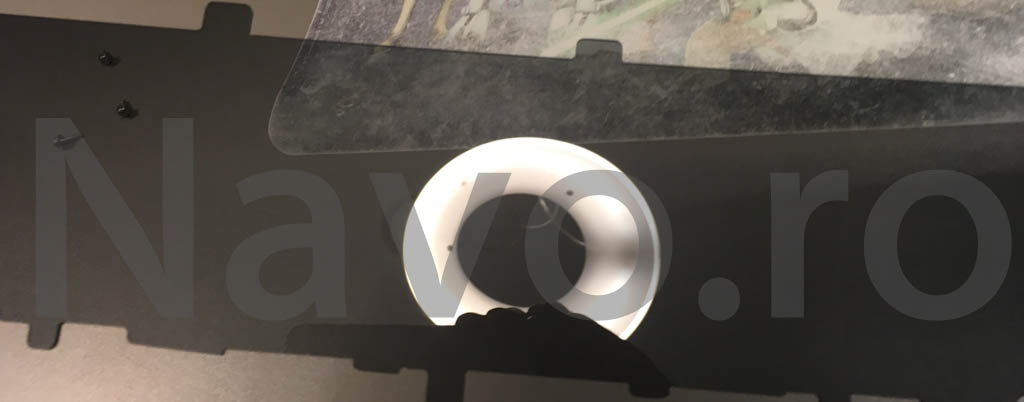
Dar principala problema este in fata. Trebuie desfacute suruburile, scos parasolarul. Apoi se gliseaza in lateral "sticla" si iese afara usor.
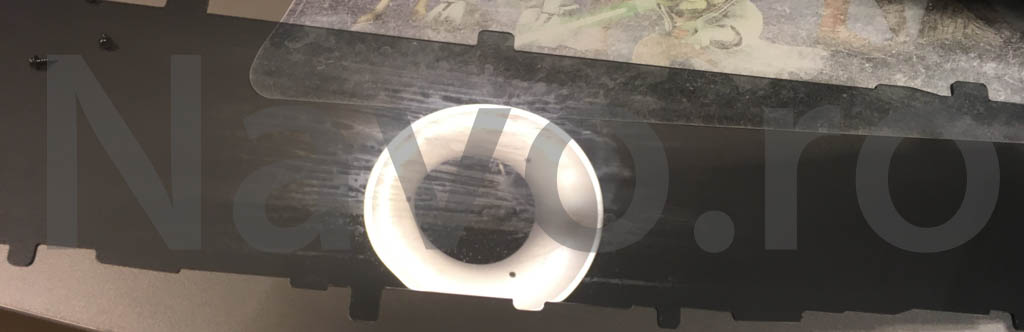
Stergeti-o usor cu o carpa care nu lasa scame, eu am folosit si lichid pentru curatat ferestre. Apoi puteti curata si indicatoarele din ceasuri, mai ales daca nu l-ati sters pe cel din centru prin spate.
The main LCD is accessible from behind, just remove the screws and unclip the cover. There are some electric connectors to remove.
But the problem is in the frontal area: remove the screws holding the sun shade, then just slide the lens to one side to remove it.
Clear it well with some cloth. I used window cleaner fluid. Then if necessary clean the indicators and LCDs behind the lens.
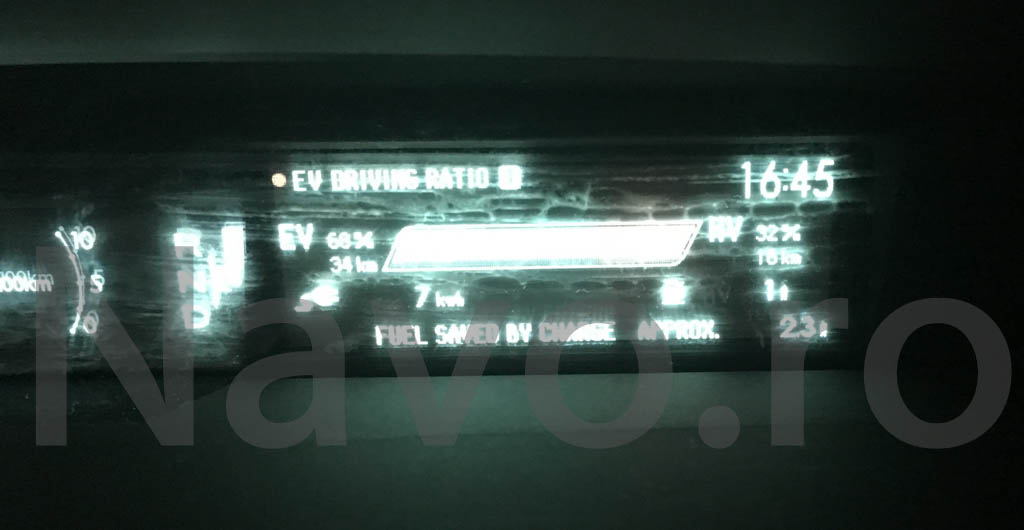
Inainte de curatire / Before cleaning
Dupa / After:
Reasamblati in ordine inversa si admirati-va ceasurile curate
Reassemble in reverse order and enjoy your clear indicators!